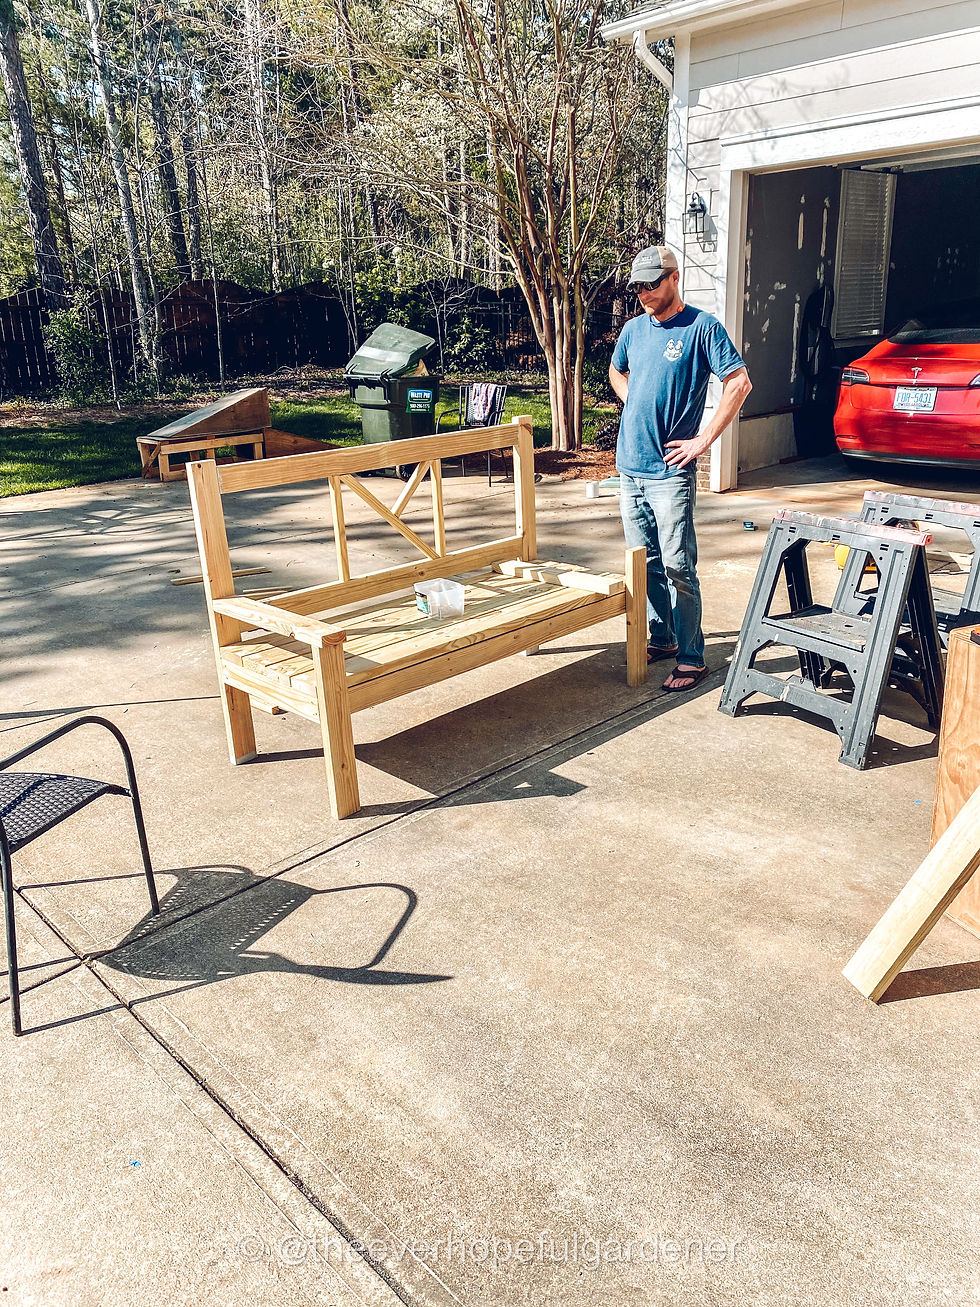
Every Gardener needs a place to sit and relax after working in the garden; a place to admire all of his/her hard work Sitting in the garden and watching the pollinators with a cup of coffee in the morning and a tasty beverage in the evening is a must! I needed to replace an old bench in my garden, and I want to share one of my favorite DIY builds with you.

Favorite spot to stare at the garden.
This large bench in my garden is from Ana White's project plans. I'm a huge fan of Ana. She makes DIY so accessible and easy. Her plans are super detailed, go step by step and don't leave you guessing. We have made 15 of her projects including my son's queen bed. One of my favorite builds is her workbench console table which I use as a wine bar in my dining room . Seriously, you need to check out her website.

One of my original benches on our front porch.
Years ago I built two of these large benches for my front porch. Shortly after building them, one of them made its way to the driveway for us to watch the kids play. Eventually I moved it to my garden for my husband to hang out while I putter around the raised beds. By the time it made its way to the garden it was in pretty bad shape. I did not use pressure treated wood to build it since it was supposed to live on my covered front porch. I also painted it with a chalk paint not meant for exterior use without sealing it. The bench finally gave out and I had to say goodbye to it.
After having the bench in the garden for a few months, I decided I had to build another one to replace it. I knew from my past building experience that it was a quick afternoon build which is good for me as I like to finish projects shortly after starting them.

The wood list is nice and simple. I used all pressure treated wood since the bench will be outside. You will need a Miter Saw to cut your lumber. The X pieces in the back are cut at 45 degree angles. You will also need a Kreg Jig which I think everyone should have. The Kreg Jig is my favorite tool after the Miter Saw.
2 2x6's at 12 ft long (I have the home improvement store cut these in half)
2 2x2's at 8 ft long
7 2x4's at 8 ft long

Wood is expensive right now, and just the wood cost $105.20 (with 5% Lowes credit card discount) If you don't use pressure treated wood the cost would be a bit less. I still think the cost is well worth the finished product.

I chose an inexpensive exterior paint; Valspar satin Season Flex in Gravity. A quart is plenty of paint to cover this bench. The paint cost $14 for a quart.
I also picked up a new package of 2 1/2 inch exterior deck screws and 2 1/2 inch pocket hole screws for use with the Kreg Jig. The total cost for the build for me is $154 which also includes an $11 paint brush. (I already had the miter saw and kreg jig)
I found that the added note in the build plans about measuring and cutting the X back pieces while the back of the bench is laying on the ground is much easier than trying to measure and fit the X pieces while the bench is standing upright. See in the photo below how I laid the back flat, and fit the X's in. Instead of using Ana's measurements and pre cutting the X pieces, I would cut one end of a 2x2 at 45 degrees and then hold it over the square on the back. I marked where I needed to make the next cut. I repeated this process for all of the X pieces. Sometimes the piece would be just a little too long and then I would carefully use the saw to cut a small bit off at a time until it would fit perfectly.

The X detail pieces are easier to measure and fit while the back is laid flat.
My husband loves this bench and wanted to get in on the build. He helped make cuts and measurements. He is especially impressed with how sturdy the bench is. If he had his way we would have used ten times the amount of screws the build calls for. He likes to build things REALLY strong.

Total build time was 4 hours (at a leisurely pace with lots of breaks for coffees and helping kids with things!) The next day I spent an hour sanding and painting it. Total time spent on this bench was 5 hours.
Let me know if you try making one of these versatile benches. I know you will love it as much as we do. I'm already thinking about making another one for the driveway.
Comments